Welcome to GFE
How to Connect Your qBittorrent Client to a VPN/Proxy
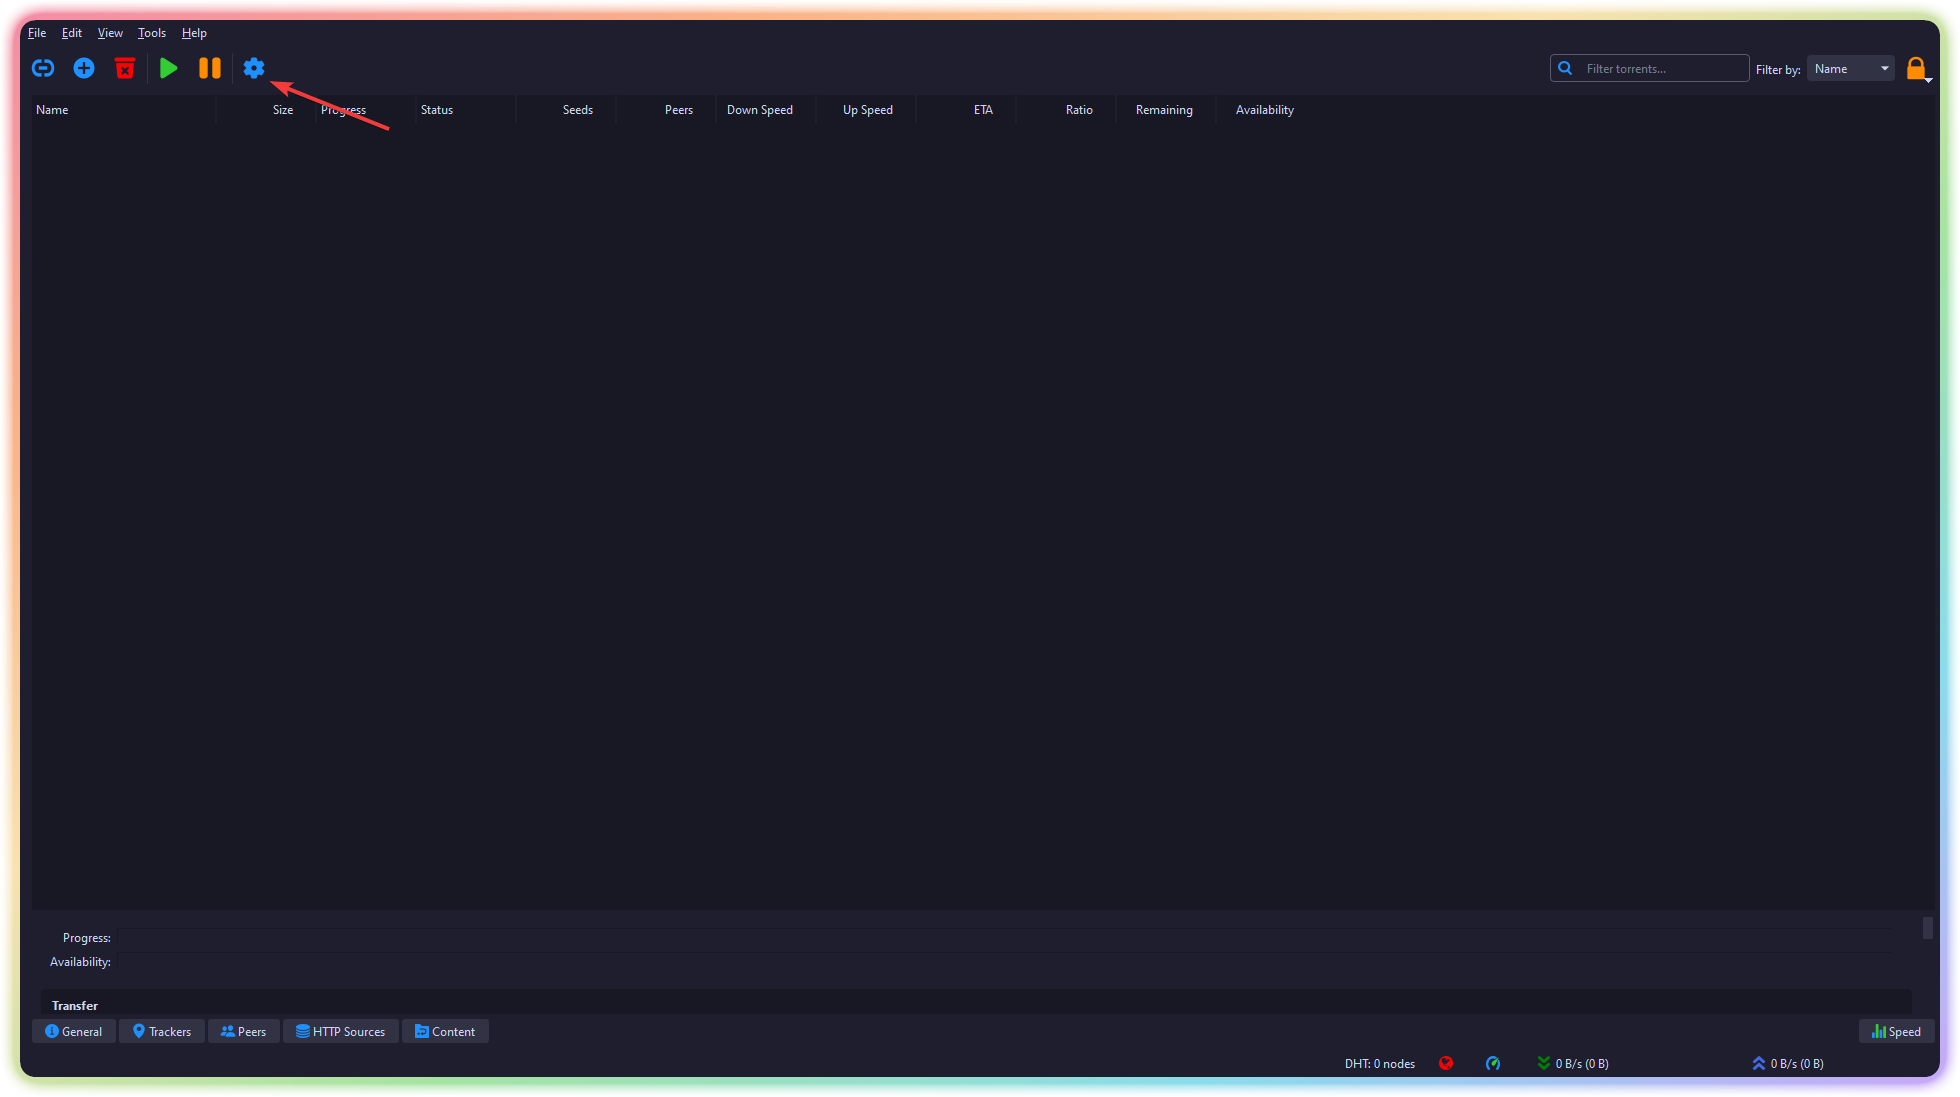
Click on the settings icon
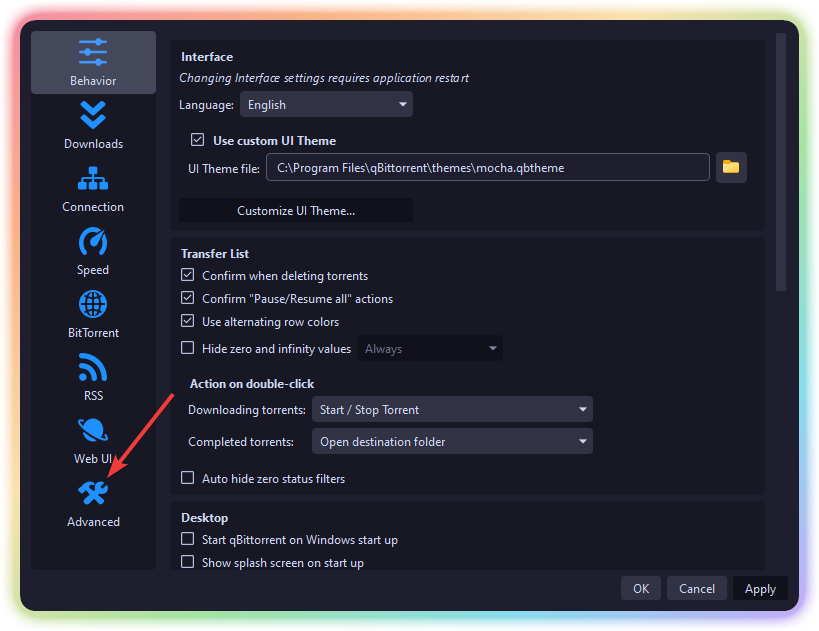
Choose "Advanced" from the menu
In the "Network interface" settings, find your VPN connection, select it, and save your changes.
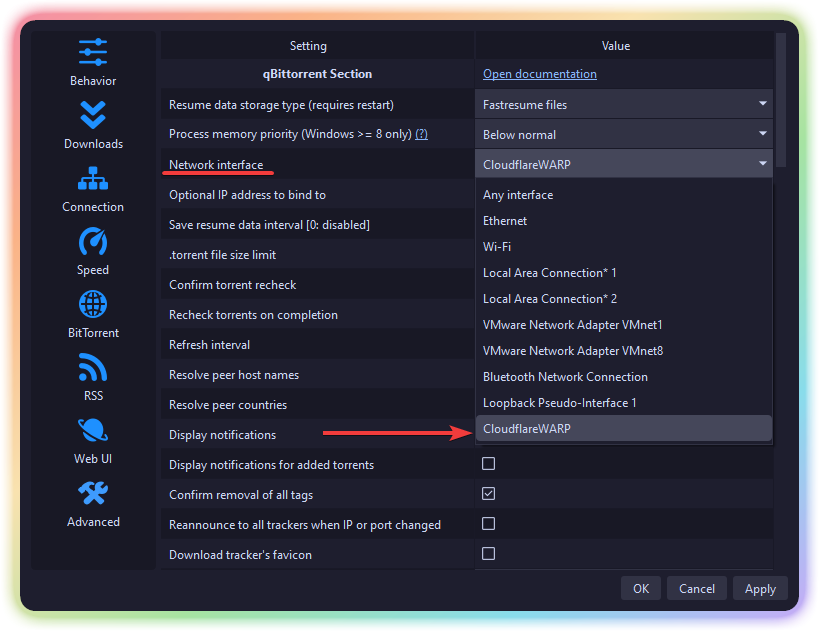
You're all set! Your qBittorrent client will now only download and upload data through your VPN or proxy connection, ensuring your privacy and security while torrenting.
Bonus: Additional Torrenting-Speed
Go to your qBittorent Client and press again the setting
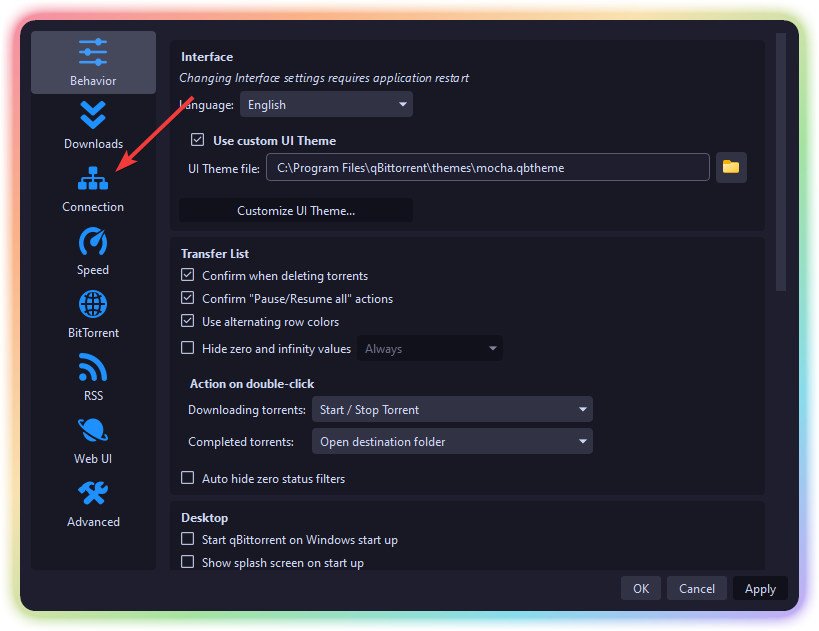
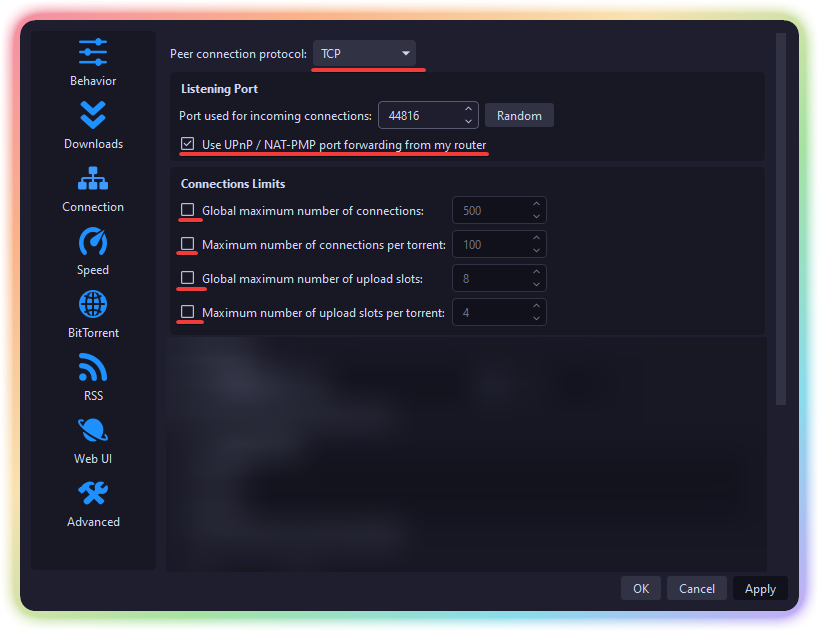
Click on the Connection Button
Use following settings (You do not need to change the port)
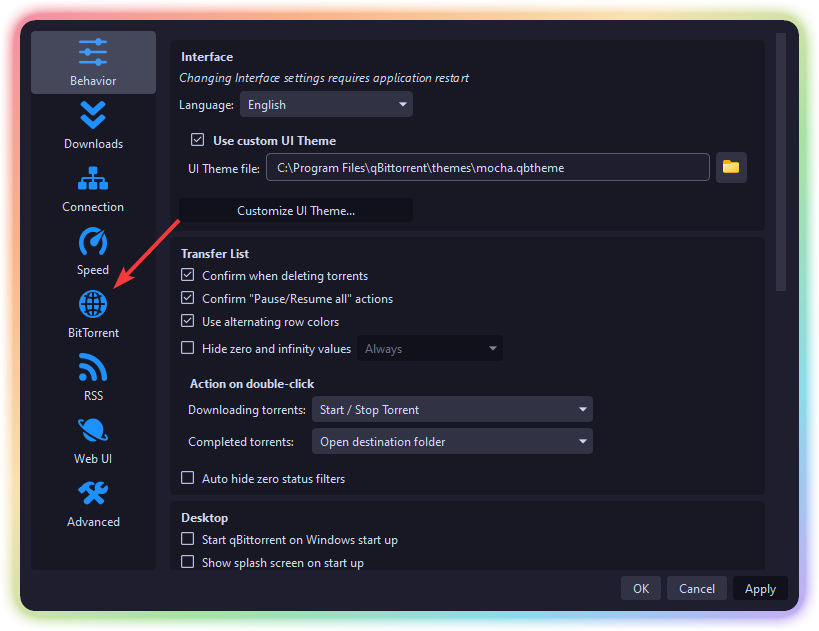
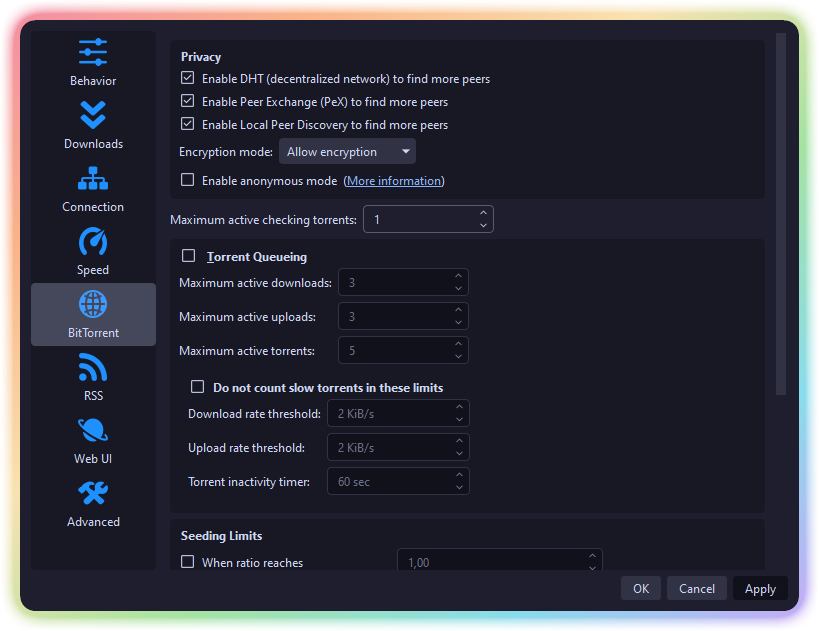
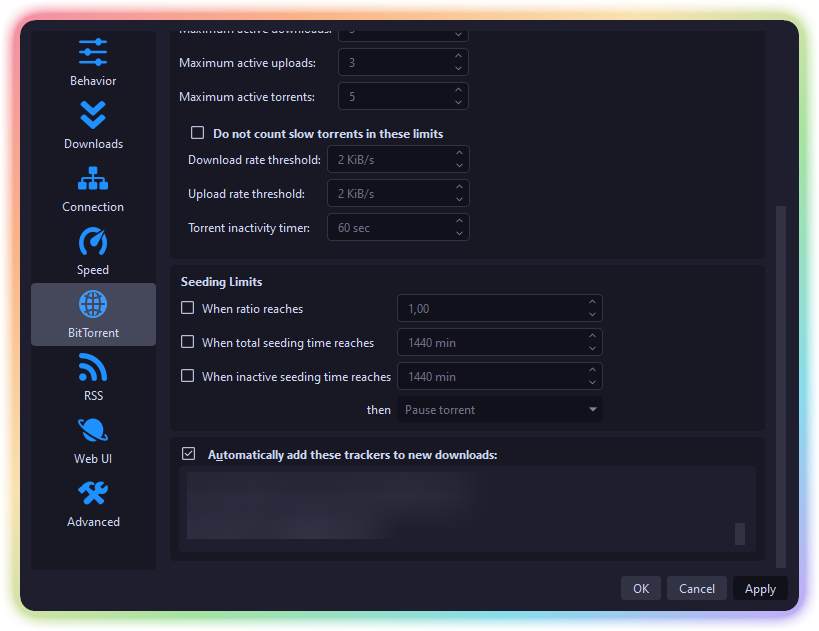
Click on the BitTorrent Button
Ensure this settings are like this
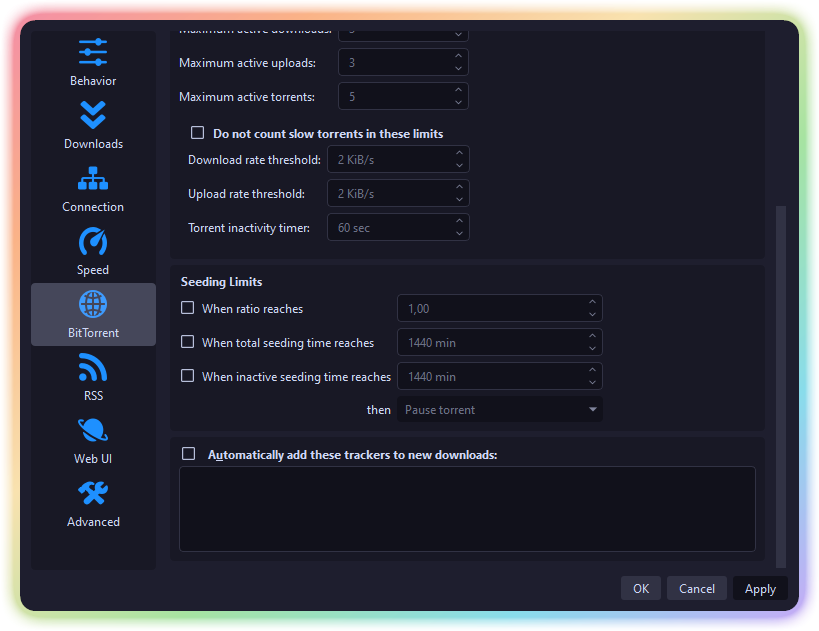
Scroll down until you see "Automatically add these trackers to new downloads:"
Go to this GitHub Page and choose a trackers list and click on one of the 3 links next to it provided
Copy all of the text
Go back to qBittorrent
Tick the "Automatically..." setting so it enabled and paste in it the content (Note: This is useless on private trackers)
If you need a free proxy to enhance your privacy further, check out this guide on obtaining a free proxy.
Privacy when browsing the web
Download Firefox/Librewolf (Privacy fork)
Install uBlock Origin (when not already done via Librewolf)
Install prefered filterlists
Check out this wiki section, maybe you find some other good extension
If you want to hide you'r IP-Adress check out this guide.